
Adding Captions to Your Facebook Videos
Hopefully, by now, you know that you should be doing videos regularly on social media as part of your marketing strategy. What you may not realize is that according to Digiday, 85% of videos on Facebook are watched without sound. For our clients, that number is usually closer to 90%.
That is why it is critical that you add captions to your videos so your audience can still get your message. We have put together a quick blog article to walk you through the steps of how to use Facebook’s built in caption feature.
Step 1: Upload Video to Facebook
Click on the “Share a photo or video” icon and upload your video.
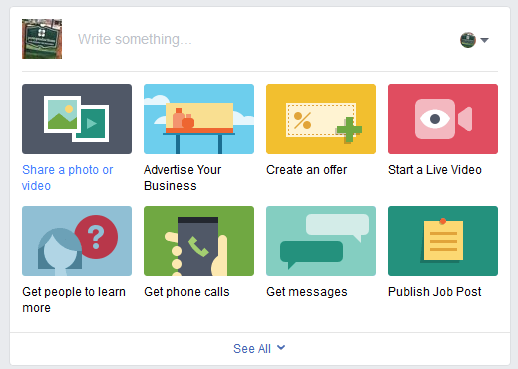
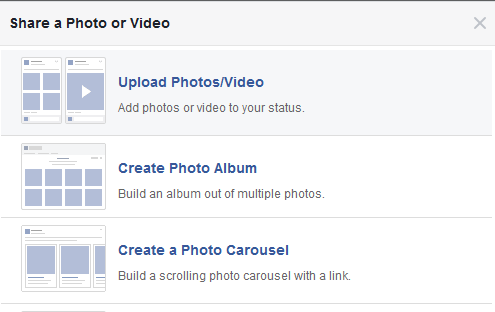
Then choose “Upload Photos/Video” from the popup window and browse to select your video.
Step 2: Enter Your Title and Tags
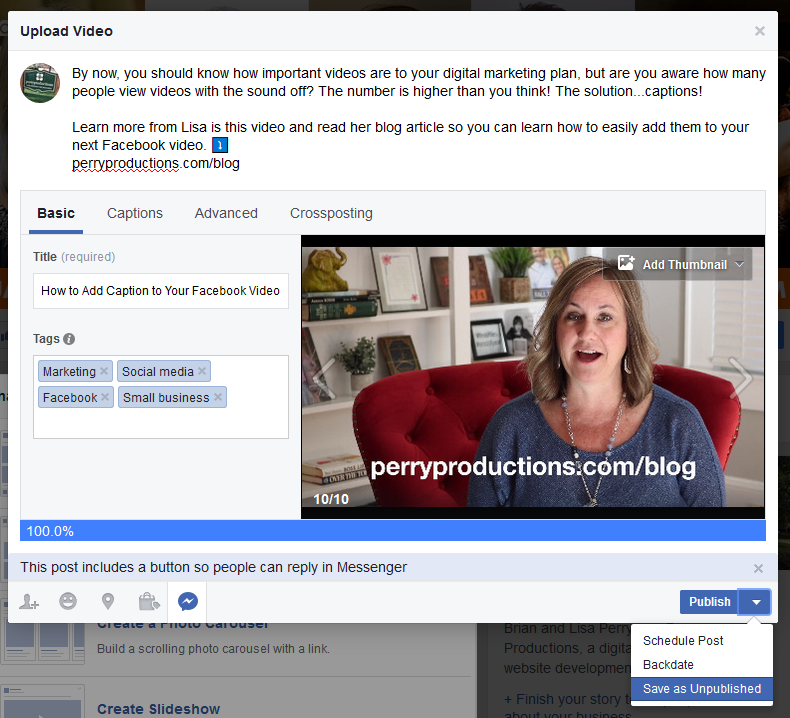
Before you move onto the captions, Facebook requires you to add a Title and some tags (or keywords) for your video. You can also change your thumbnail. Sometimes the default thumbnail has an unattractive mouth wide open or closed eyes image. Flip through using the side by side arrows to find one that looks good or you can even click on “Add Thumbnail” and upload a custom image to be your thumbnail.
Bonus Step: Add Messenger Button
You always want to give people an opportunity to reach out to you. Now, Facebook gives you the option to add a messenger button to your post that will pop up and prompt the viewer to message you! This is a great feature to add to your videos.

Once you are done with adding the title, tags and messenger button, click on Publish > Save as Unpublished. You must take this step before you can autogenerate your captions.
Step 3: Edit File and Autogenerate Captions
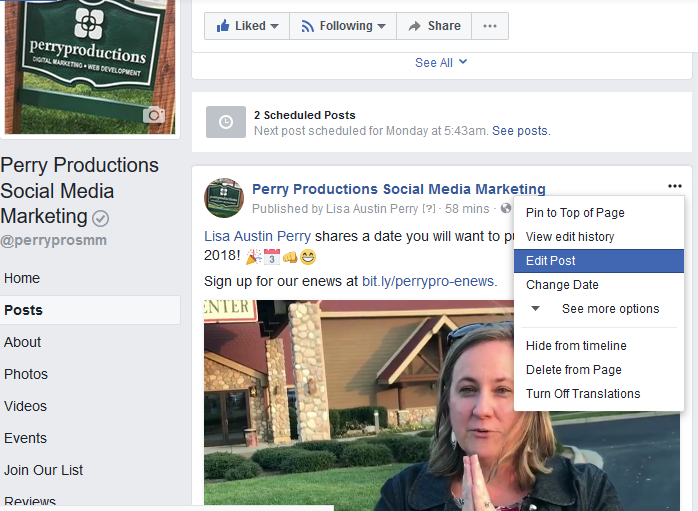
Once you have saved your file, go to Publishing Tools > Posts > Drafts to see your unpublished video. Click on your video and then select “Edit.”

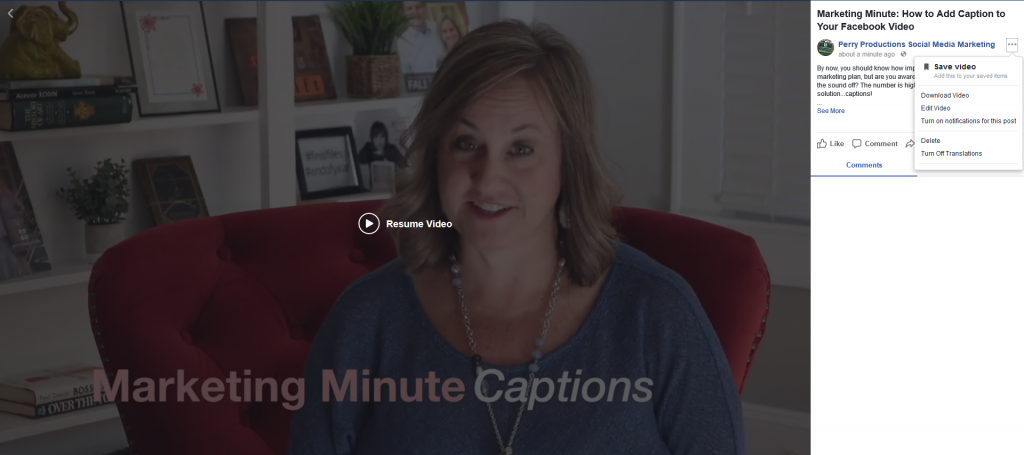
Once this screen options, click on the three dots in the upper right-hand corner and choose “Edit Video.”
Now, when you click on “Captions” you will see a button called “Generate”. NOTE: prior to saving your video, you will NOT see this option. You must save it first and then come in and edit it.
When you click “Generate”, Facebook will automatically generate your captions.
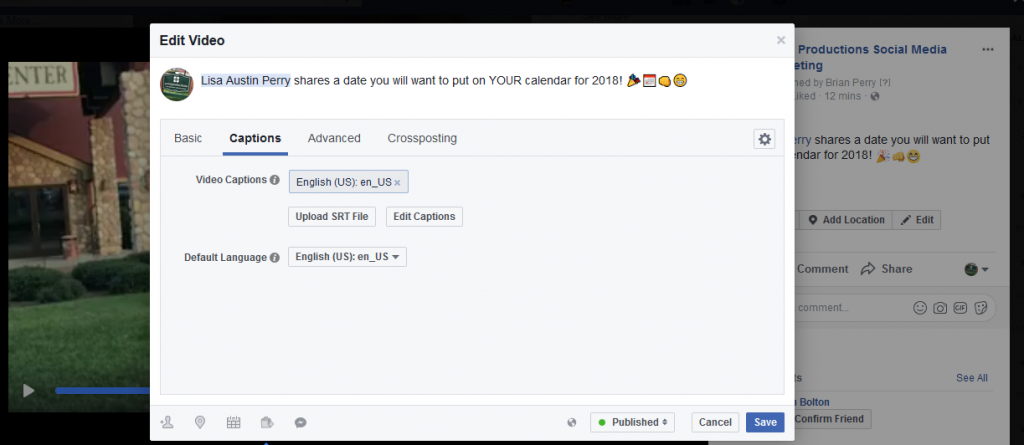
Facebook automatically generates your captions for you, but you do have to edit them as they will have typos, misspellings, etc.
Step 4: Save and Publish
Once you are done fixing your captions, click “Save to Video” in the bottom right hand corner. You can then change your video from “Draft” to either “Schedule Publication” to have it post at a pre-selected time in the future or “Published” to have it publish immediately.
PerryPro Tip: We recommend that you always watch your video all the way through after it has posted to your page (or better yet, have someone else watch it to catch any typos) BEFORE you boost it. Once you boost, Facebook temporarily locks the post while it is under review and you won’t be able to change it.

You can go back and edit your captions if you do happen to find a typo.
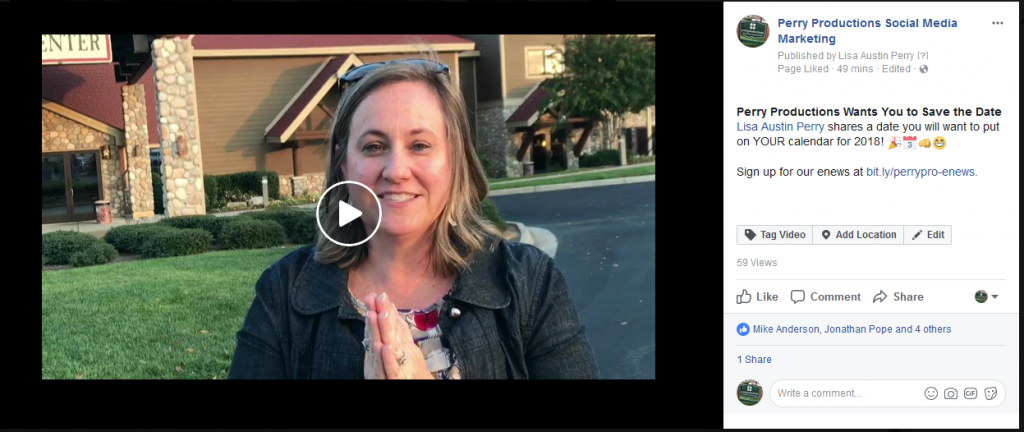
This is how a finished product looks! Note the thumbnail image (with my eyes open!) and the video title.
Another way to add captions to your video on Facebook is to upload an SRT file. Social Media Examiner recently published an article about how to do this. Click here to read the article.